Making the switch from our former editor, the Advanced Template Editor (ATE) to the updated Visual Mailing Editor (VME) can be worrisome, but we're here to help.
To get started, we recommend cloning your current mailing list, to have a place to work on your template, without affecting your active mailings or your readers.
Once you have cloned your mailing list, go to the new list's dashboard and choose Edit Template from the Settings drop-down menu in the upper-right of your screen:

You'll see your original ATE template and editor appear on the screen. To begin the switch to a VME template, click the Template Library button located towards to bottom of your screen:

On the following screen, select a quick start template to use as a starting point. You'll be able to customize the template to your preference, including replicating the previous version that existed in the ATE.
Once the new template is designed to your liking, and you've tested it to make sure all is well, click Save As at the bottom of the editor.

In the pop-up, name your new template and choose to save the copy to Your Template Library.

Doing this will save the template to your Template Library which will be accessible from all mailing lists.

To apply the newly created VME template to your main list, you'll repeat the first few steps of this workflow.
Navigate to the list's dashboard, choose Settings > Edit Template, click the Template Library button at the bottom of your screen.
From your Template Library, select the newly created and saved template.
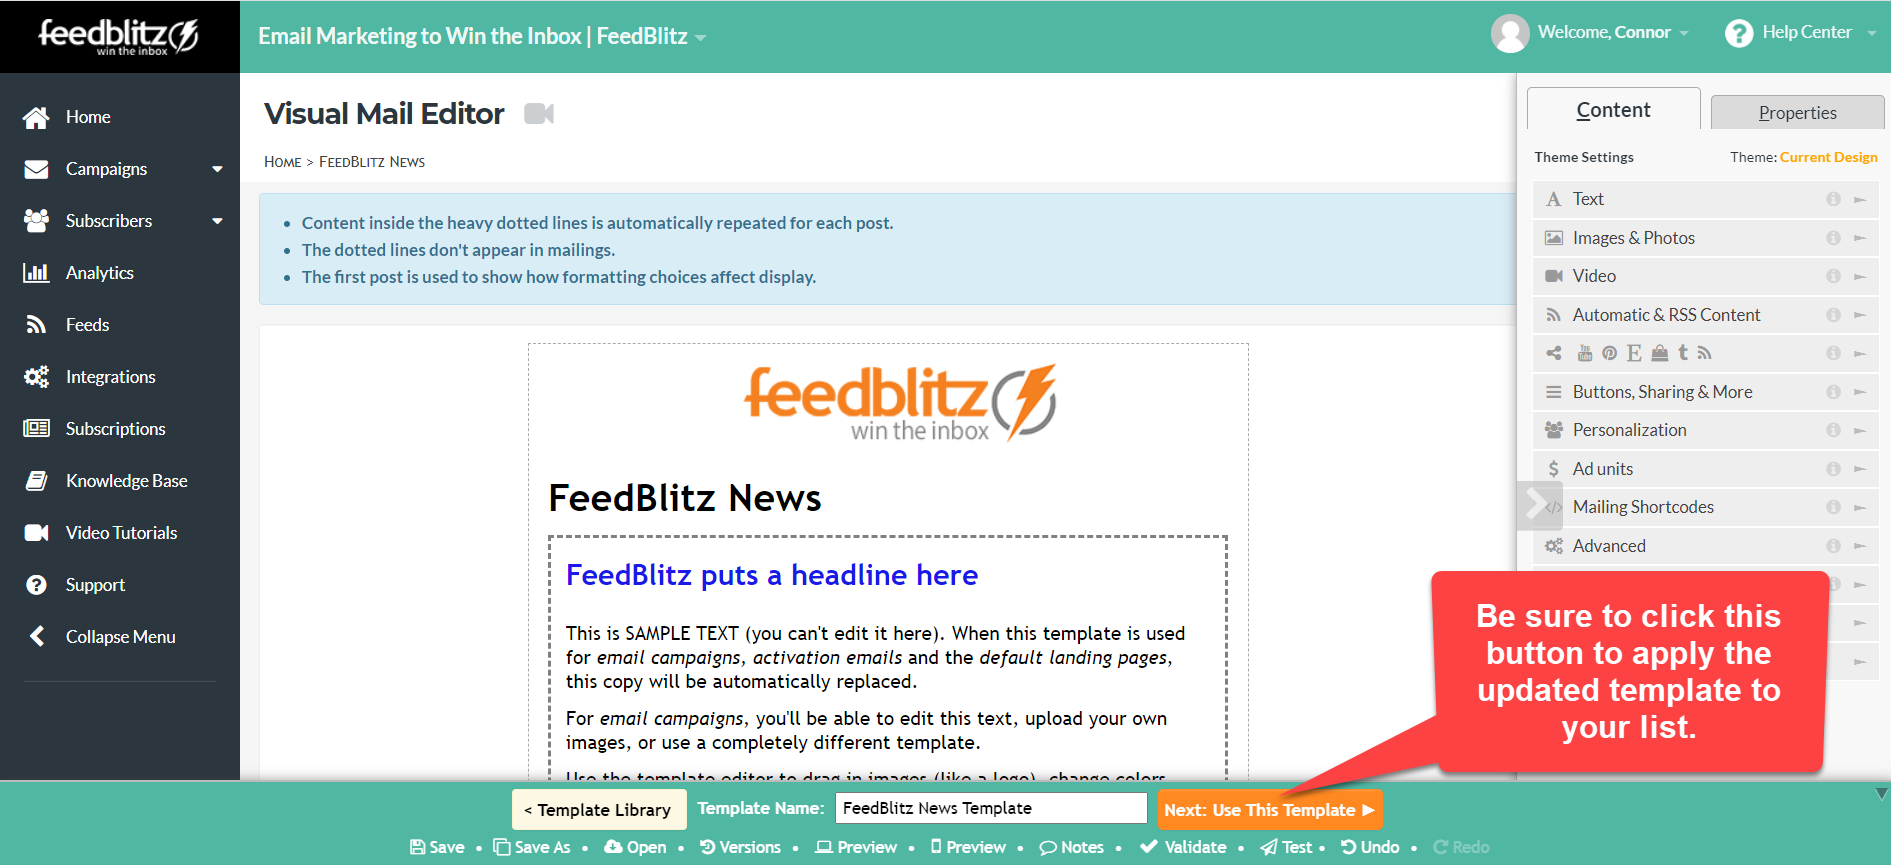
And to apply this template to your main list, be sure to click the orange Next: Use this template button:

That is how to take your template from an ATE version to a VME version! And now you'll have access and use of all the cool features available in the VME.
If you have any questions, please don't hesitate to let us know. You can find all of our great support resources and how to get in touch with us via email, chat or phone on our Support page.
